Don't Let Out of Stock, Cost You Sales
by Veena Prakash
In times of high demand and/or low supply being 'out of stock' can cost sales.
By giving customers an option to be notified when their favourite product is available again, you not only encourage people to come back and complete their purchase but possibly even spend more.
A back in stock feature allows you to save sales, gather customer data for future marketing communications and also identify products of high interest.
An often underutilized feature in most Shopify store themes is the in-built feature for back in stock notification.
Here’s how it works
Once set up, the back in stock alert will appear on product pages with sold out items and will allow customers to submit their email addresses to receive alerts for their desired product.
When a customer signs up for the alert, you will receive an email notification so that when the item requested is in stock again you can notify the customer. However, with this feature in Shopify, you would need to manually email customers a link to the item, as it cannot be automated in Shopify currently.
If you often have products that go out of stock or are experiencing it for the first time, the best option is to use an app to automate the process.
Here we walk you through the steps to set up a back in stock app on your store.
-
Select a suitable app from the Shopify App Store
Log in to your Shopify App Store and search for ‘Back in stock’ to see options. Choose an app based on your business needs as they vary in features, price, notification limits, etc. Based on our experience, and depending on your specific needs, we recommend Restock Master or Notify Me.
-
Install the app
Once you have selected an app, click ‘Add app’. You will be redirected to your Shopify admin, where you will be asked to grant permission. Click ‘Install App’.
-
Choose your plan (if applicable)
Choose a plan based on how many alerts you expect customers to sign up for and the customisations and features available. If you have opted for a paid plan, you may be billed a recurring monthly charge or a usage-based charge.
-
Configure the app to match your store design
Follow the prompts to configure the app - this may take a little coding and/or time depending on the level of customisation you require. You will be able to personalise the look and feel of the notification form on your product pages as well as the email that customers will receive.
-
Publish on your store
Most apps will automatically install the configured setting to your store after you click publish. However, some apps require additional installation steps, which a Shopify developer can help you with. We’ve helped businesses like Coco & Lola, configure a high-converting back in stock notification.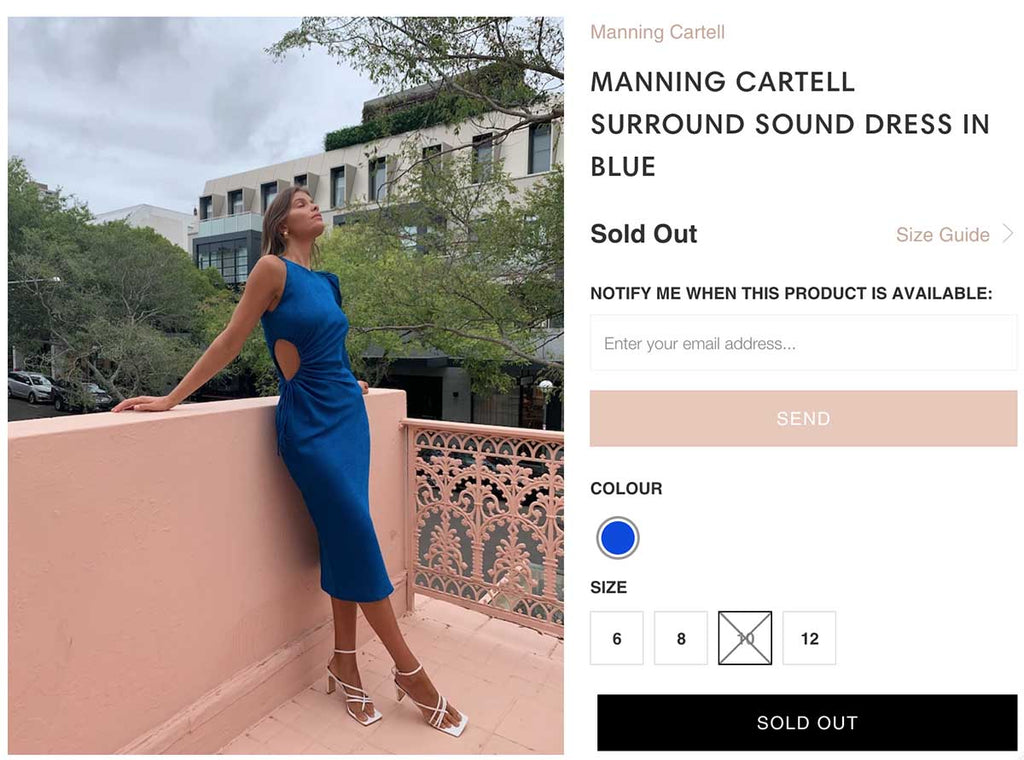
-
Test the form in your store
Go to an out of stock product on your store to test the setup. Check the appearance of the form and sign up for an alert to make sure everything is working as it should.

One tip to maximise your returns from this feature is to choose an app that allows integration with your email marketing platform (like Mailchimp or Klaviyo) so you can use the email captures for wider marketing campaigns. For some inspiration, here’s a case study on how retailers have leveraged this feature on their Shopify stores.
With over 10 years’ experience building Shopify stores, we’ve recommended and set up stock alert apps as per specific business needs and use cases. We understand that customers require reliable and timely communication on unavailable products, so running multiple tests is essential to ensure they receive the right messages.
If you are after a fast, hassle-free installation of a back in stock features for your Shopify store, click here.